Table of Contents
Introduction
Windows Image for OpenStack: For most Linux distributions, it is possible to download a generic QCOW2 file for the purposes of running instances in a cloud environment. However, Microsoft does not provide such instances for any Cloud platform other than Azure.
Since Microsoft Windows is still a major component in many IT infrastructures, there may be a need to run Windows-based instances on OpenStack.
These detailed instructions build on the official guide here, but adds considerably more detail and explanation, where necessary. Also, this guide has been updated for Windows 2016 and Windows 2019, whereas the original is limited in scope to Windows 2012.
Prerequisites
Before you get started, you will need the following:
- Microsoft Windows Installation ISO
- Windows Server 2019 Evaluation
Click Here to download - Windows Server 2016 Evaluation
Click Here to download - An ISO of Red Hat’s virtio drivers for Windows
Click Here to download
- Windows Server 2019 Evaluation
- A computer running Linux and KVM
- At least 15GB of available disk space
- At least 2GB RAM
Building the Windows Image for OpenStack
Step 1: Create the Windows VM
The process of building an image requires creating a virtual machine, installing the OS, and then doing some configuration for a cloud environment. The first thing to do is to actually build the VM. We start with creating a virtual disk. This disk image should be as small as possible since the image will be grown once it is deployed in the Cloud environment, but it can never be shrunk.
Here, we create a 12GB QCOW2 file named windows2016.qcow:
$ qemu-img create -f qcow2 windows2016.qcow2 12G Formatting 'windows2016.qcow2', fmt=qcow2 size=12884901888 cluster_size=65536 lazy_refcounts=off refcount_bits=16Now that our disk exists, we can create and start the VM. The command below can be modified to suit your environment. For example, the network can be changed from default to some other network in your KVM environment. Also, the option for --os-variant should be modified for the version of Windows being installed. For a list of OS variants, run the command osinfo-query os.
$ sudo virt-install --connect qemu:///system --name windows2016 --ram 2048 --vcpus 2 --network network=default,model=virtio --disk path=windows2016.qcow2,format=qcow2,device=disk,bus=virtio --cdrom Windows2019_x64_Eval.iso --disk path=virtio-win-0.1.173.iso,device=cdrom --vnc --os-type windows --os-variant win2k16

Starting install…
A KVM window will appear with the Windows installer running inside it. Modify your settings, as desired and click Next.

Click Install now.

By default, the Windows installer will select Windows 2019 Standard Evaluation, but that will not install a Windows GUI. If a standard GUI is desired, select the option Windows Server 1029 Evaluation (Desktop Experience).
Click Next.

Accept the License Agreement
Click Next.

Since there is no existing installation, we must select Custom: Install Windows only (advanced).

Windows is unlikely to discover the virtualized hard disk drive without drivers.
Click Load Driver.

Click Browse.
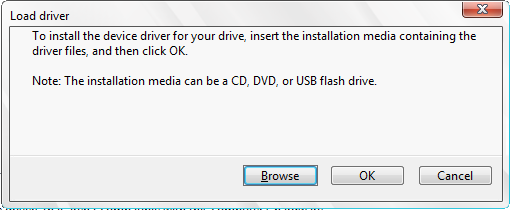
Select the driver from the list.
Click Next.

Windows will install the driver.
Now the KVM disk is available. Select it and click Next.

Wait for Windows to install.

Windows may reboot several times during installation.

Type in a temporary Administrator password.
Click Finish.
** Note ** This password will be overwritten by CloudBase (see Step 3), so this password is only for use during installation.
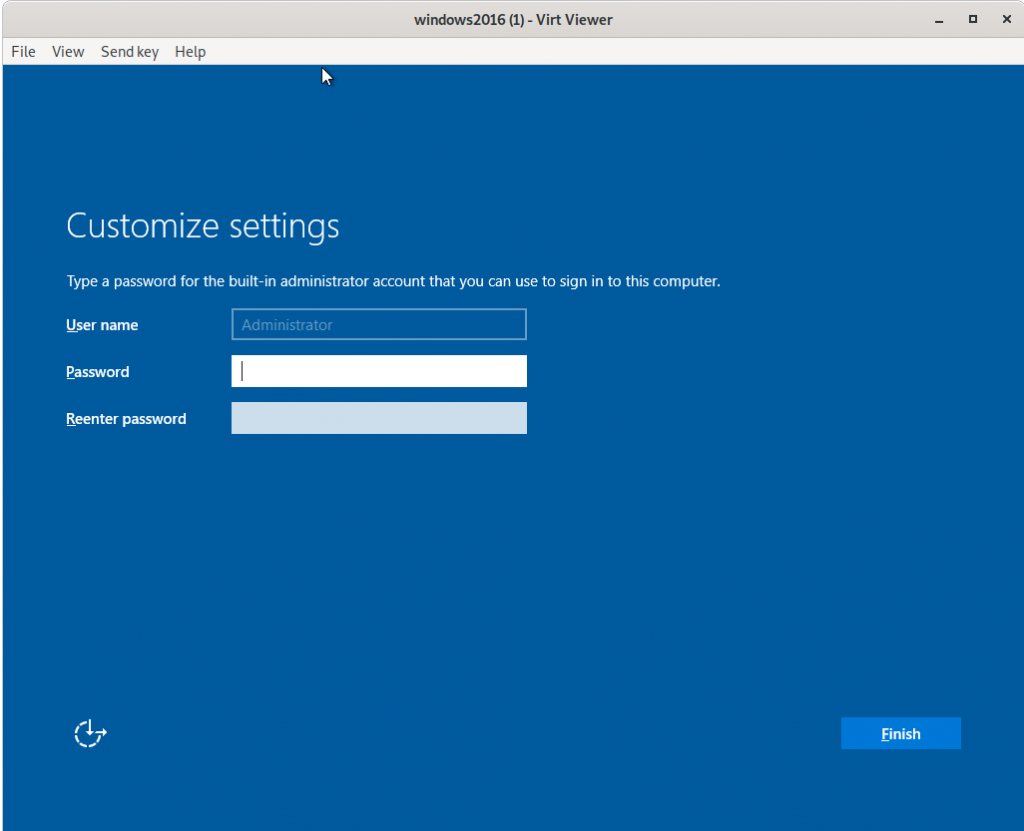
When the installation is complete, you will be presented with the idle login screen.

Step 2: Login and Configure Windows
Now, login to the Windows server and continue the setup using the password you entered previously.
** Note ** Do not use Ctl-Alt-Delete to activate the Windows login screen. This may reboot your host!
Select Send key -> Ctl+Alt+Delete to activate the Windows login screen, then type the Administrator password and login.

Upon successful login, dismiss the Server Manager window.

During the creation of the Windows VM, we attached the VirtIO ISO as a CDROM drive (E:\). We will need to install some additional drivers to continue.
Navigate to E:\NetKVM\2k16\amd64 and right-click on NetKVM, then select Install from the contextual menu.

Click Install.

The operation should complete successfully. The Windows server will now have a working network adapter.
Click OK.
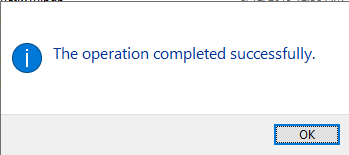
Navigate to E:\Baloon\2k16\amd64 and right-click on Baloon, then select Install from the contextual menu.

The operation should complete successfully.
Click OK.
All required drivers should now be installed.

If your network uses DHCP, you will already have an IP address. If your network does not have a DHCP server, then you can manually configure an IP address. Once the VM is on the network, it is a good time to install Windows updates. That process is not covered in this guide.
Step 3: Prepare the System for Cloud Use
Now that the base OS is installed, we must configure the system for use in a Cloud environment.
First, we need to disable the Windows Firewall. Although this step is technically optional, most Cloud infrastructures, such as OpenStack, provide their own firewalls via Security Groups. Therefore, it is optimal to disable Windows Firewall in the Cloud image.
If it is not already open, launch Server Manager from the Start menu.
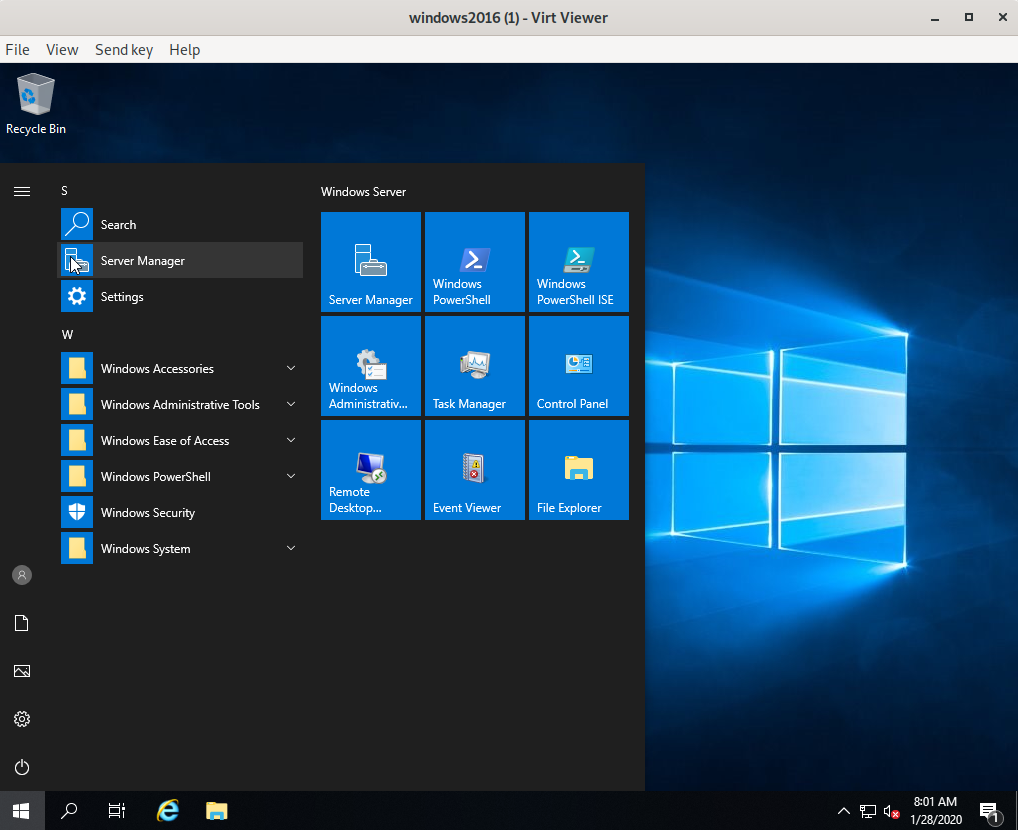
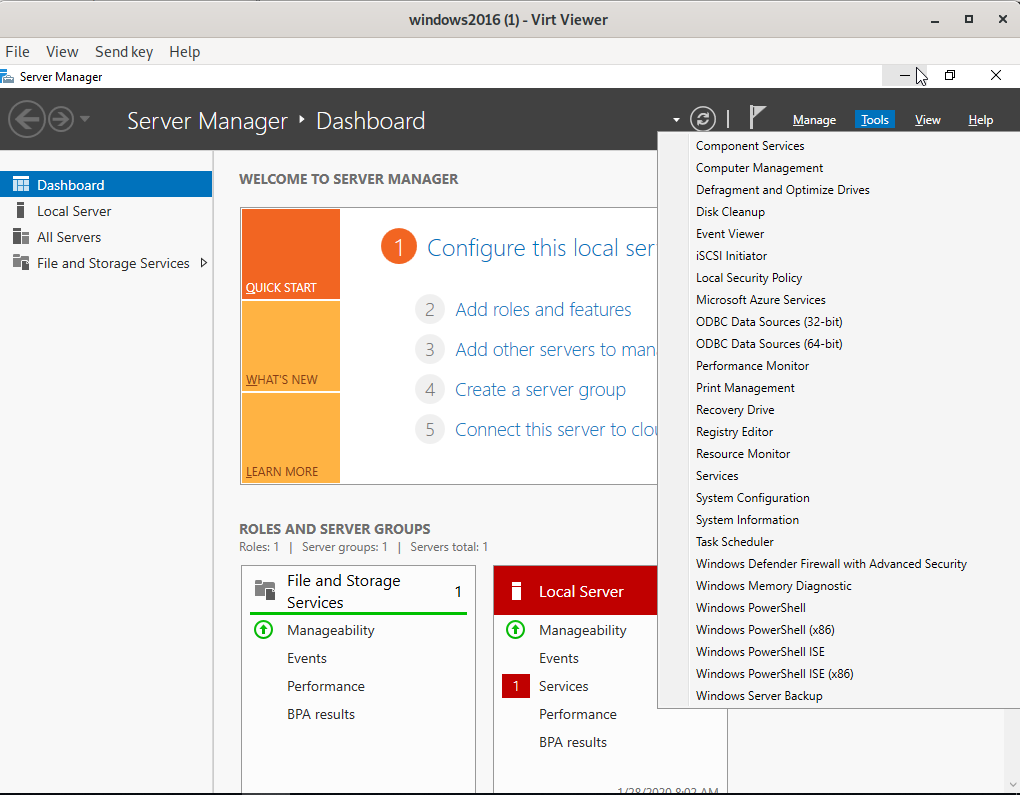
From the Tools menu, select Windows Defender Firewall with Advanced Security.
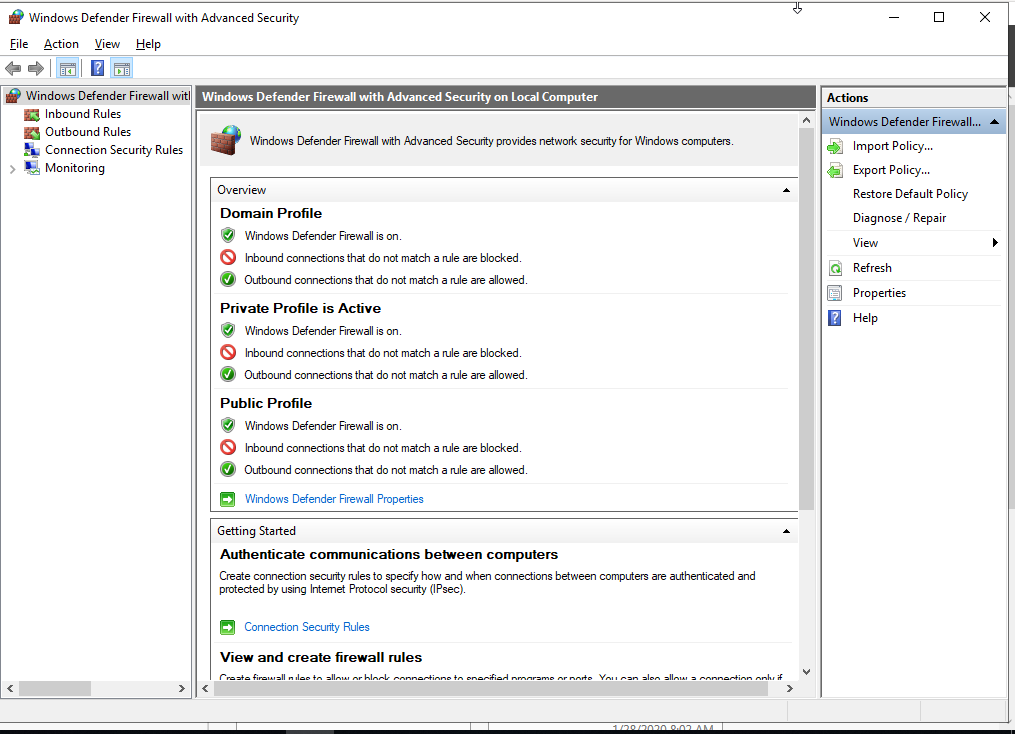
Click the blue link for Windows Defender Firewall Properties.
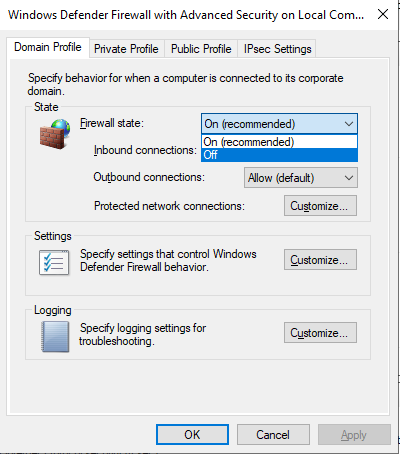
The window that appears has four tabs:
- Domain Profile
- Private Profile
- Public Profile
- IPsec Settings
In the Domain Profile tab, change the Firewall state: to Off.
Repeat the process on the Private Profile and Public Profile tabs.
Once all three profiles have the firewall disabled, click OK.
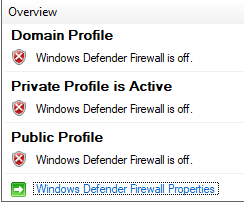
All three sections of the Overview window should indicate that Windows Defender Firewall is off.
Close the Windows Defender Firewall with Advanced Security window.
Close the Server Manager window.
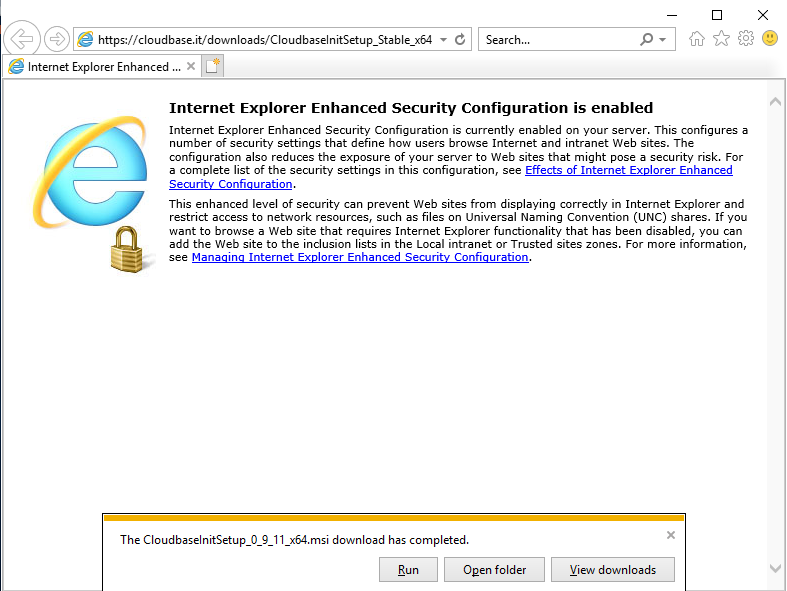
Next, we need to install CloudBase, which is a utility that performs the same functions that cloud-init does on Linux systems. Download the CloudBase installer inside the Windows VM using the link here:
https://cloudbase.it/downloads/CloudbaseInitSetup_Stable_x64.msi
When the download is complete, click Run.
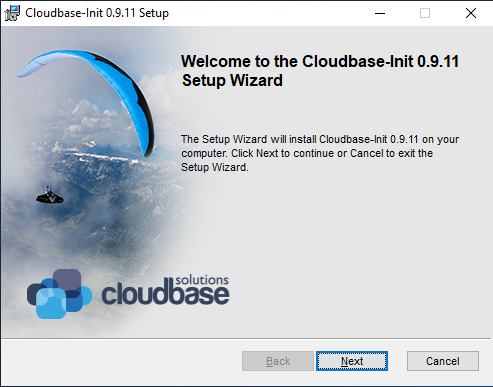
When the installer appears, click Next.
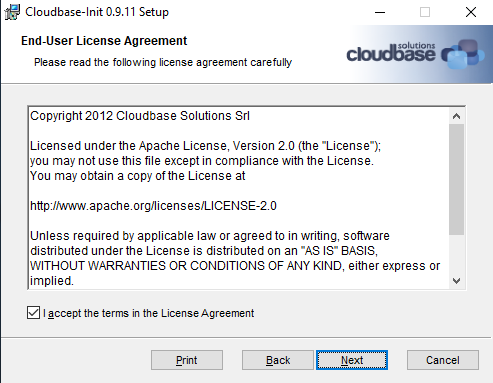
Accept the End-User License Agreement, then click Next.
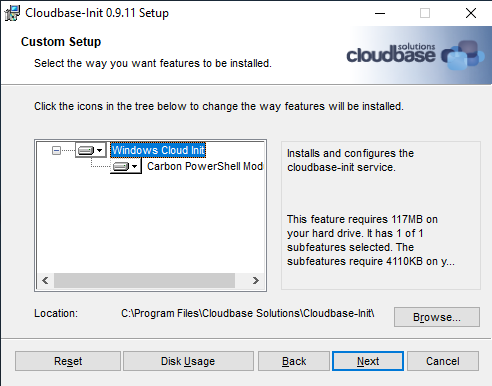
Leave the default options as they are and then click Next.
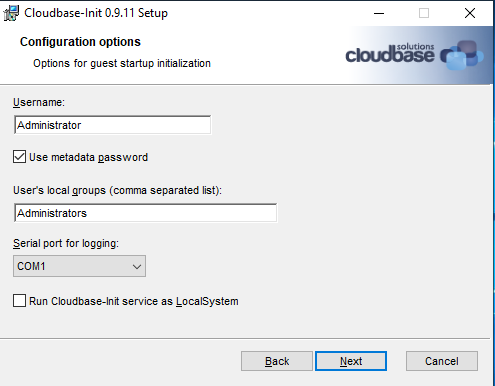
Complete the fields in this form as described:
Username: Administrator
Use metadata password: checked
User’s local groups: Administrators
Serial port for logging: COM1
Run Cloudbase-init service as LocalSystem: unchecked
Click Next.
** Note ** It is possible to use any arbitrary username in the Username: field. However, if you do so, then you will need to log in as that user when the instance is built, instead of Administrator, and then manually reset Administrator’s password.
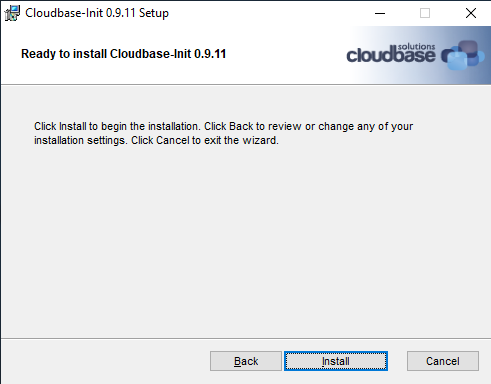
Click Install.
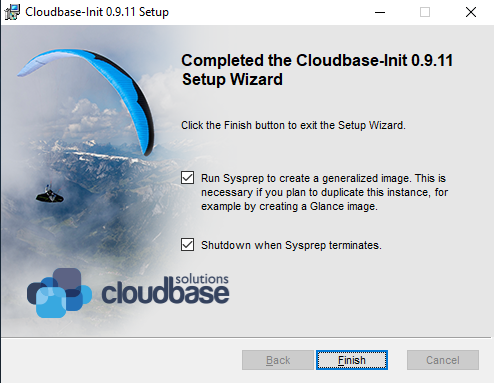
When the CloudBase installer is complete, ensure that both the checkboxes are selected:
Run Sysprep to create the generalized image: checked
Shutdown when Sysprep terminates: checked
Click Finish.
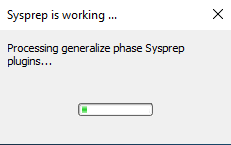
Sysprep will run for a minute or so, after which the system will automatically shutdown.
The disk image created with this process is now the Cloud Image for use in OpenStack. We will change the name to something more descriptive.
$ mv windows2016.qcow2 Windows-2016-x86_64-Cloudimage.qcow2
Step 4: Upload and Use the Windows Image
Now that we have our Windows cloud image in QCOW2 format, we can use it in OpenStack.
If the target OpenStack environment is using Ceph as a back-end for Glance images, convert the image from QCOW2 to RAW:
$ qemu-img convert -f qcow2 -O raw Windows-2016-x86_64-Cloudimage.qcow2 Windows-2016-x86_64-Cloudimage.rawIf not using Ceph, then the image should remain in QCOW2 format.
Once we have the image, we need to upload the image into OpenStack Glance. Note that the image requires a minimum disk size of 12GB (we have set 14GB here, just to be safe), and a realistic minimum RAM of 2GB.
$ openstack image create --container-format bare --disk-format raw --min-disk 14 --min-ram 2048 --public --file Windows-2016-x86_64-Cloudimage.raw Windows2016Although we will not discuss the specifics of creating an instance in OpenStack, you can now use the image you uploaded to create the instance. When the instance is created, you will need to extract the password from OpenStack Nova in order to login. When you start the instance, ensure that you created it using a keypair for which you also have the private key available. Without these, you will not be able to login to the Windows instance.
In our example, imagine you have an OpenStack Nova instance running that was built using your new Windows image. The instance name in our example is Win2016.
Use the command nova get-password to decode the password used for the instance.
$ nova get-password Win2016 .ssh/id_rsa
0jHeZzcD5xLc8sJzxwN6
In our example, the Administrator password for the Win2016 instance is 0jHeZzcD5xLc8sJzxwN6.
When the Windows instance is booted, login to the console as Administrator with the password from the previous command. Once logged in, continue using Windows as you normally would.
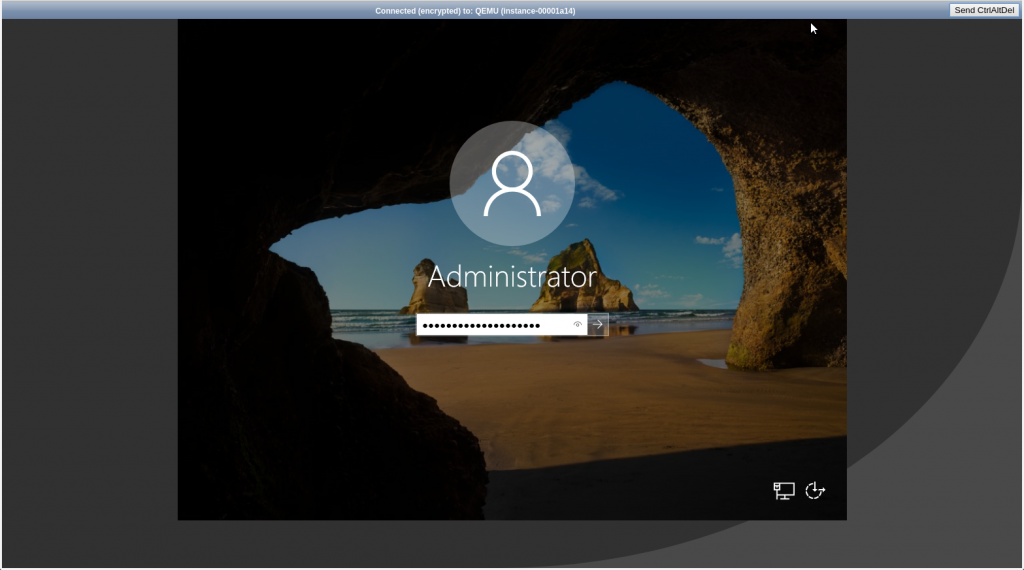
You will probably want to customize the Administrator password so that you do not have to repeatedly type the password that was generated by OpenStack Nova.
Conclusion
We have seen how to use a Linux computer running KVM to create a customized Windows Server 2016 or 2019 in QCOW2 format Image for OpenStack. Once you know the steps, creating additional images, or performing additional customization is not terribly difficult at all. We can not always escape using Windows, but at least we can use it in a way that integrates smoothly into our existing Linux-based Cloud environments.