Introduction
Openfiler Storage, Are you looking to tryout some storage setup in your office or home network? This guide may help to rollout your own storage server in few minutes. Open-filer is an Opensource storage management light weight Linux appliance. It licensed under GNU 2, the stable version released long back in 2011. Open-filer provides extensive support for file level and block level protocol systems like CIFS, NFS, FTP, HTTP, Rsync, iSCSI and Fiber Channel.
It has good reliability with software and hardware RAID support, Online filesystem growth and volume scalability more than 60+ TB. Moreover, User management can be provided locally or using LDAP/Active Directory. In our setup we are going to see how to setup software RAID and on top of that let’s create Volume groups and block devices to share in a single network range.
We are going to rollout this setup in a virtual machine running on top of VMware environment.
Minimum Requirements:
1 CPU with minimum 1.66 GHz
1 GB RAM
20 GB for OS and Swap
1 No of 1 Gb NIC
3 No of 1 TB Disks
Watch our Video guide on Open-filer Installation
Starting with Installation
Let start with downloading the ISO file from official website. In case installing on Virtual machine we can use the ISO file, if not burn the ISO to media or prepare with bootable USB stick to start the installation.
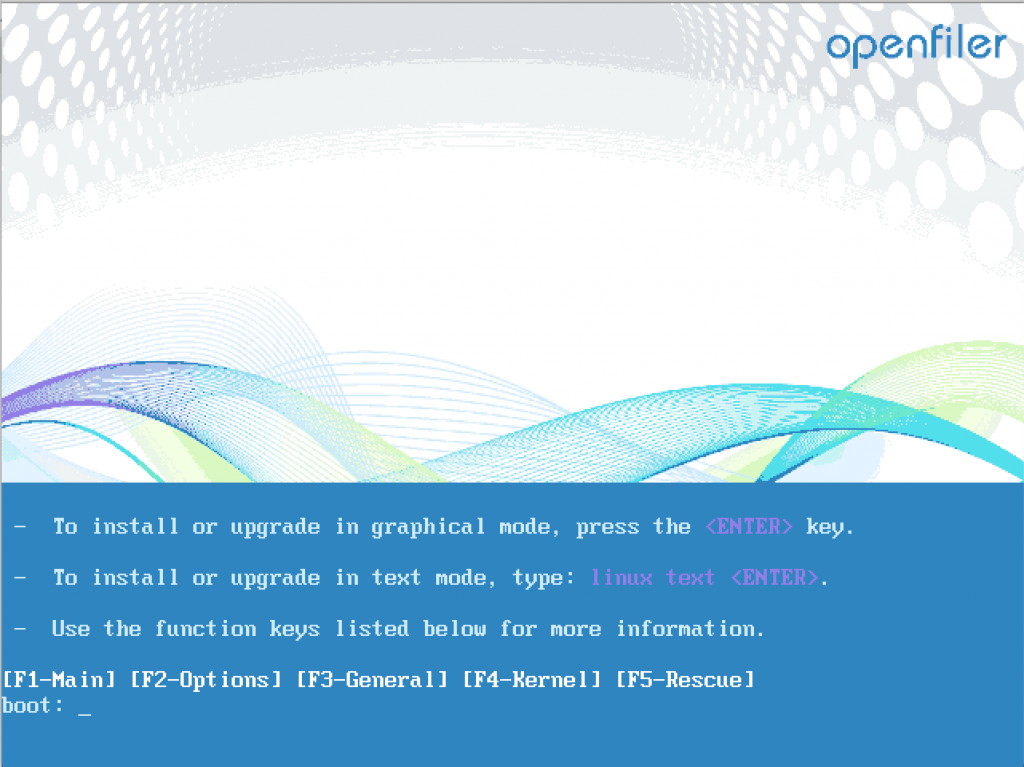
Press ENTER key to start the installation
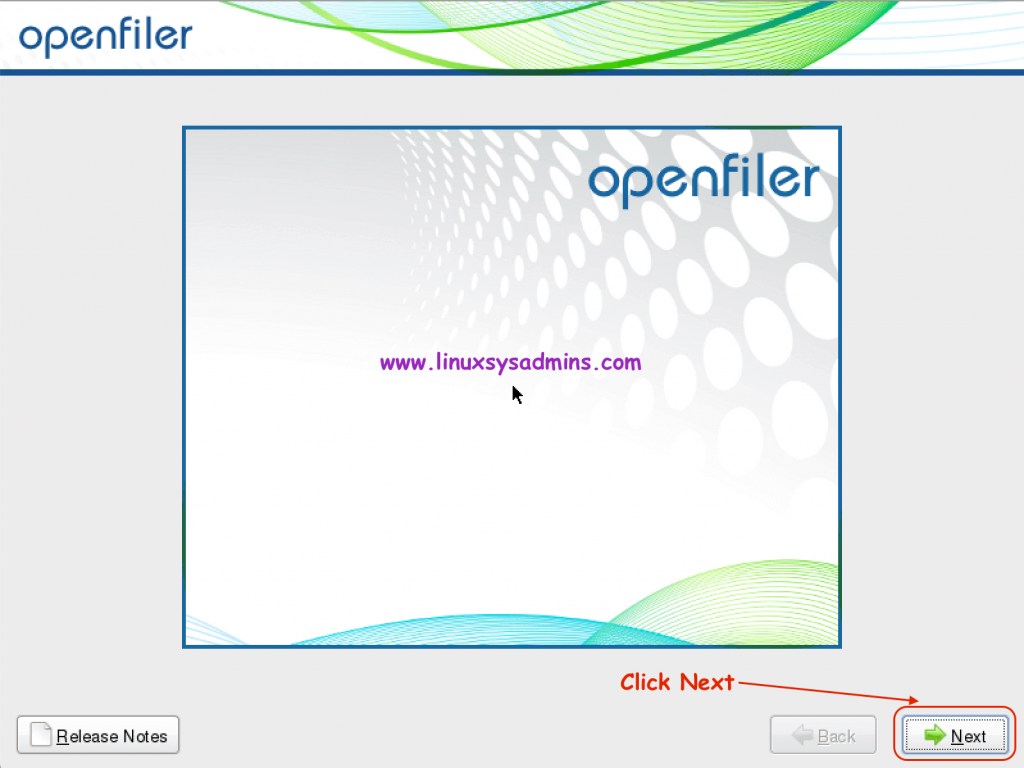
Click “NEXT” to move forward with installation
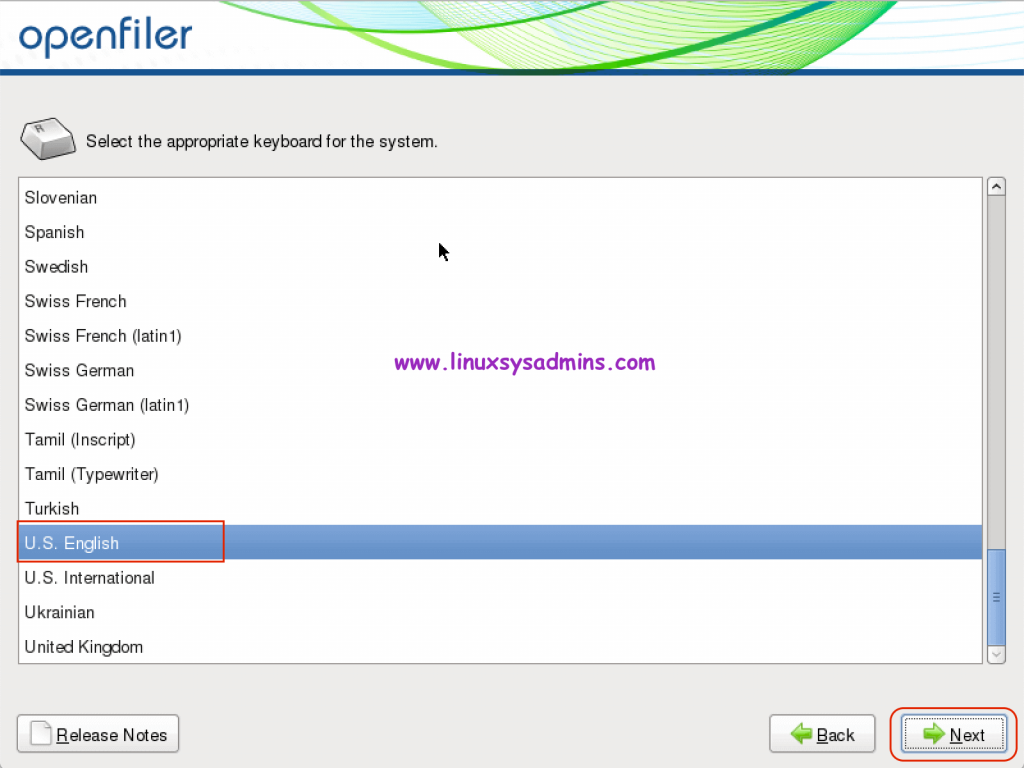
Select your keyboard language and click “NEXT“.
Partitioning Disk for OS Installation
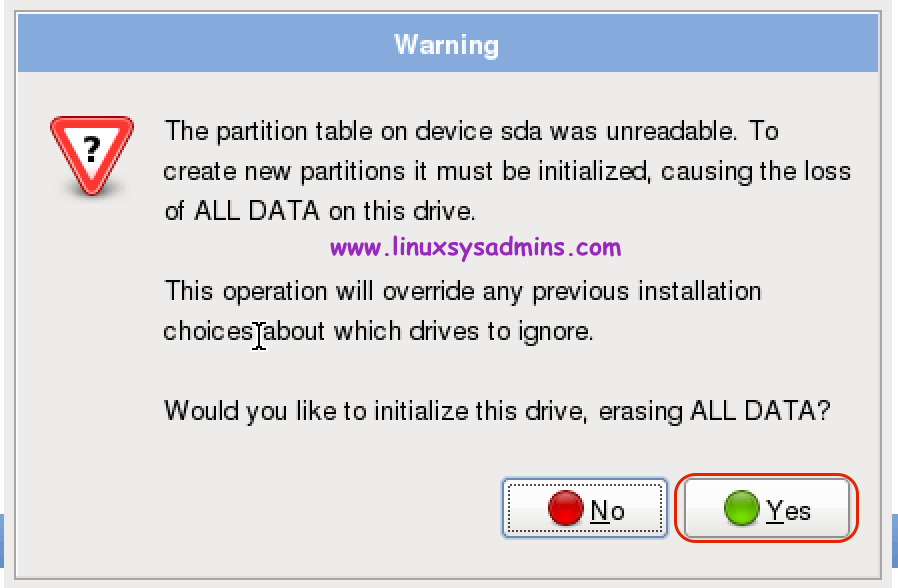
Once we click next, a pop-up window will appear by asking for confirmation to initialize the disk by warning for data loss.
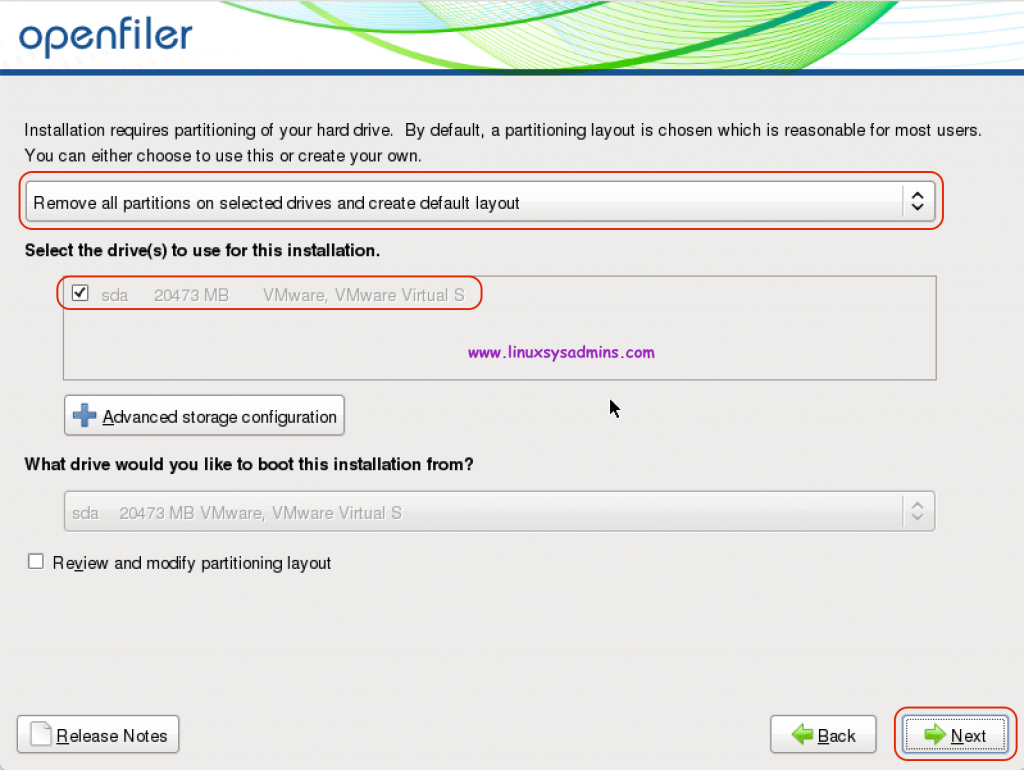
Select the disk which need to be partition for OS installation, If you are attached with multiple number of disk make sure to select the right disk for OS installation. Click “NEXT” to continue with partition.
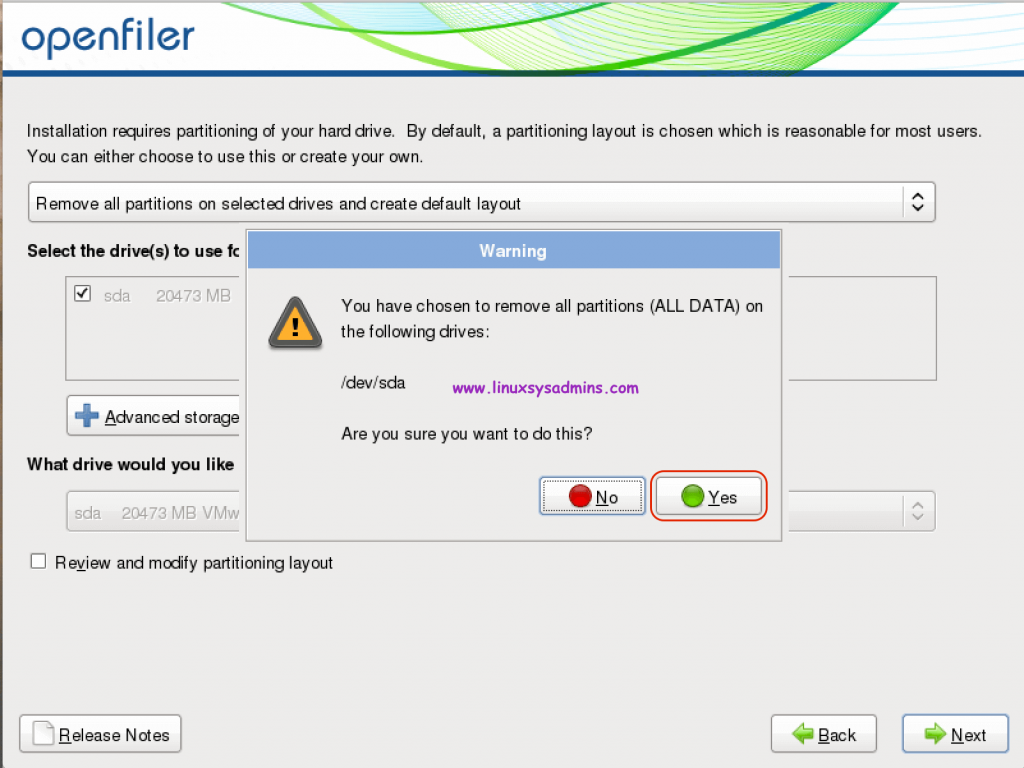
Confirm to remove the existing partitions and create new filesystem layout. Click “Yes” to continue, By following click “NEXT”.
Host Name and Interface configuration
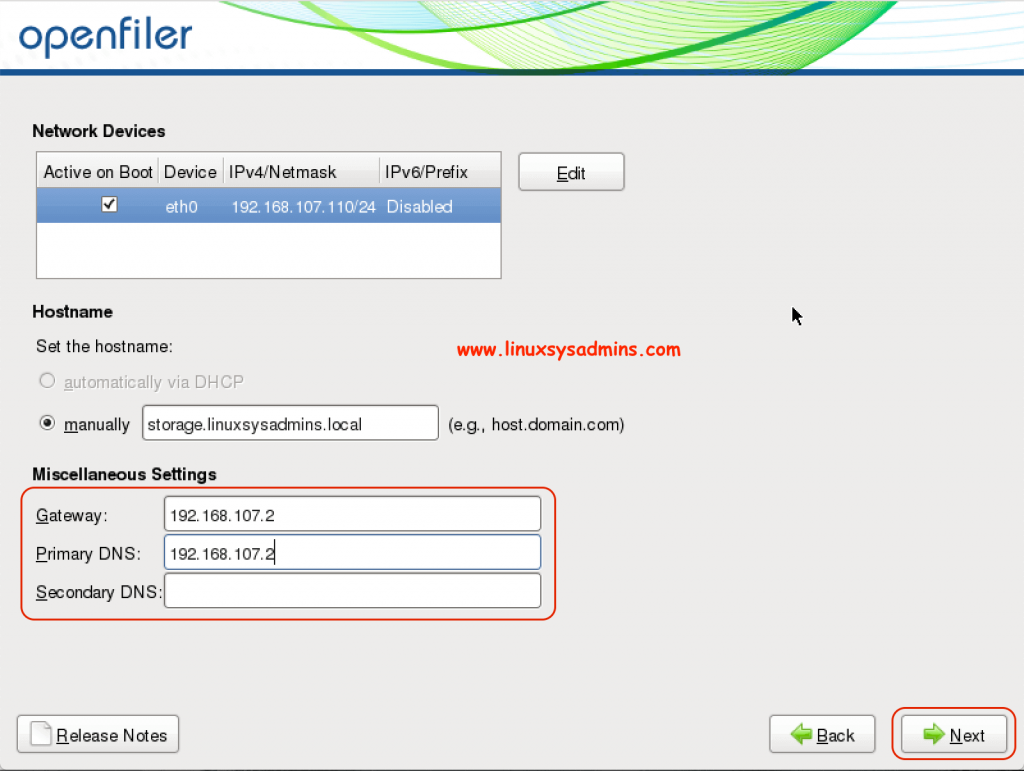
Continue with assigning a host name. We are using “storage.linuxsysadmins.local“. Select the manually and enter your required name
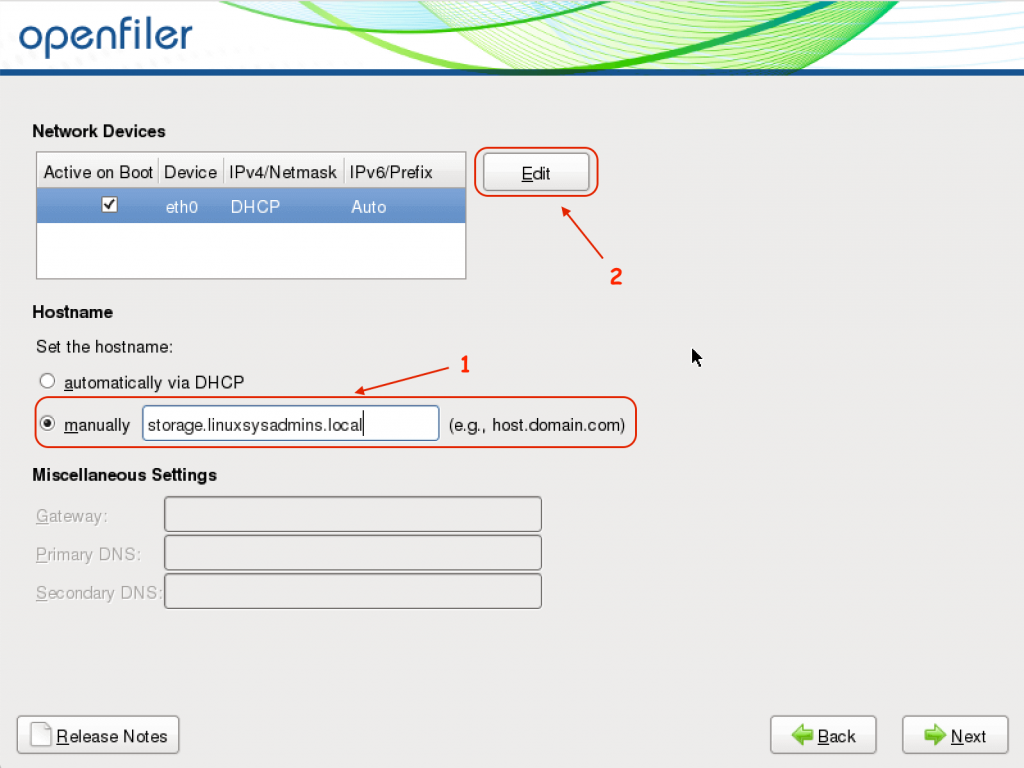
- Use any Host Name.
- Click “Edit” to configure static IP Address for our Openfiler.
Clicking on “Edit” will bring up Interface configuration window.
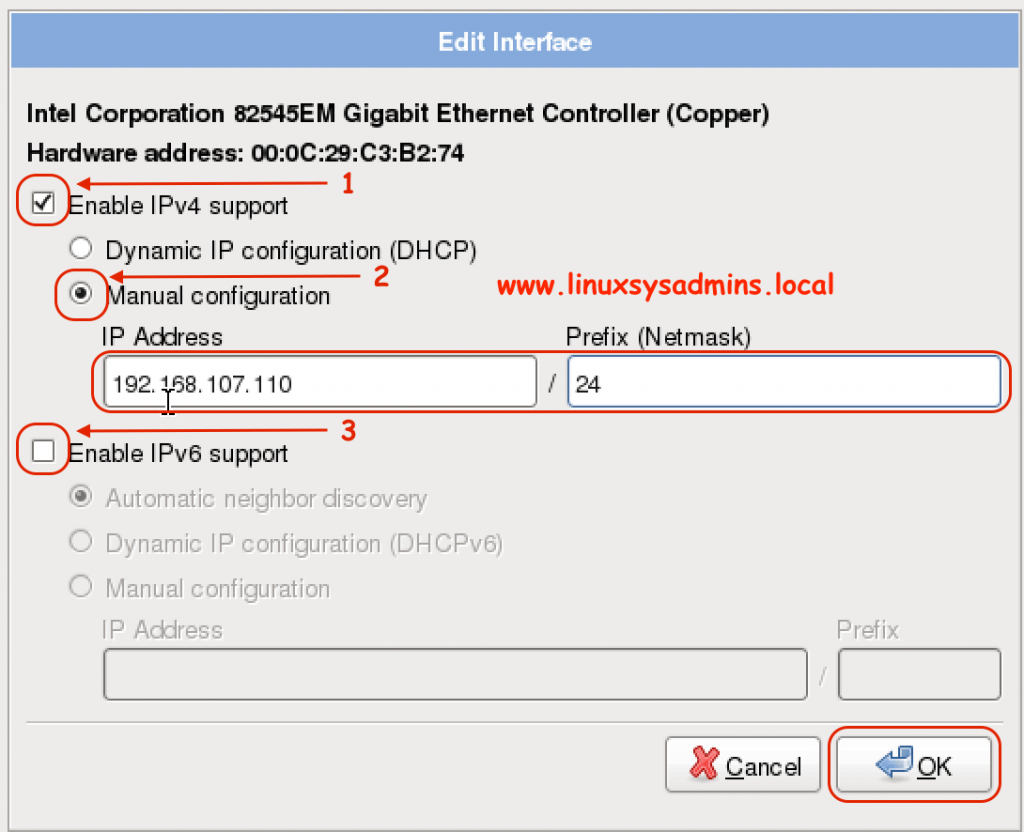
- Click the Check box to configure IPv4 address.
- Select the radio button to configure manual IP address.
- Uncheck “Enable IPv6 support” which we are not using.
- Use IPv4 address and Net mask or Prefix value.
Click “OK” to save and exit the interface configuration.
By following configure gateway, DNS and click “Next”
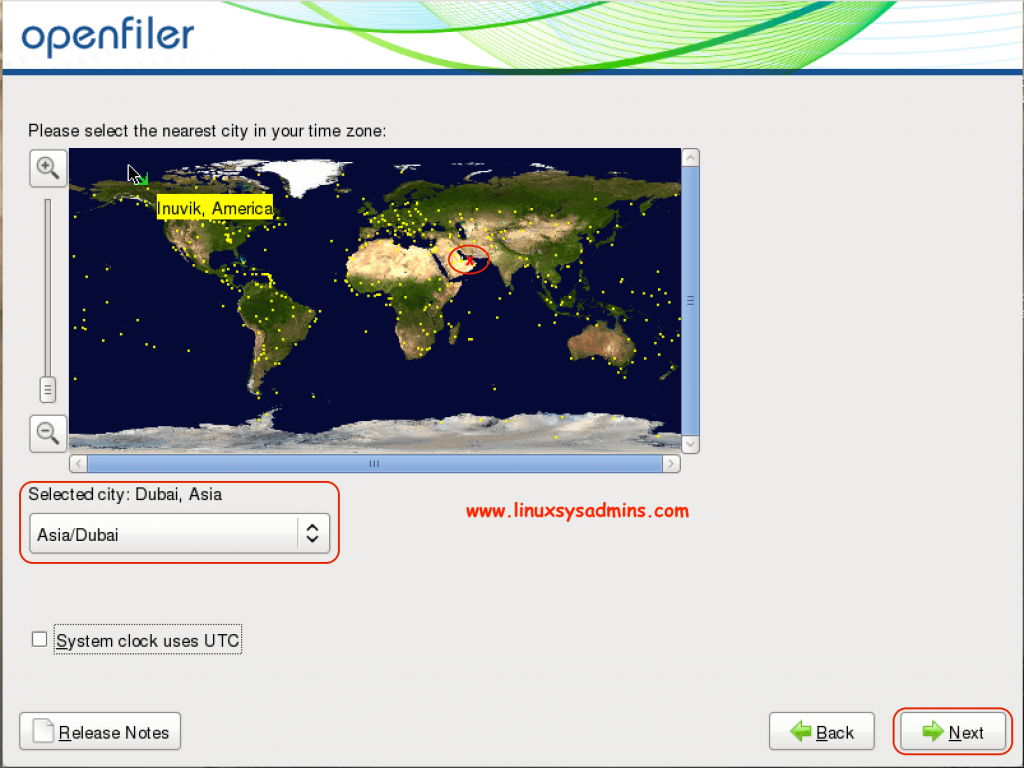
Timezone configuration
Select the required time zone and click “Next”.
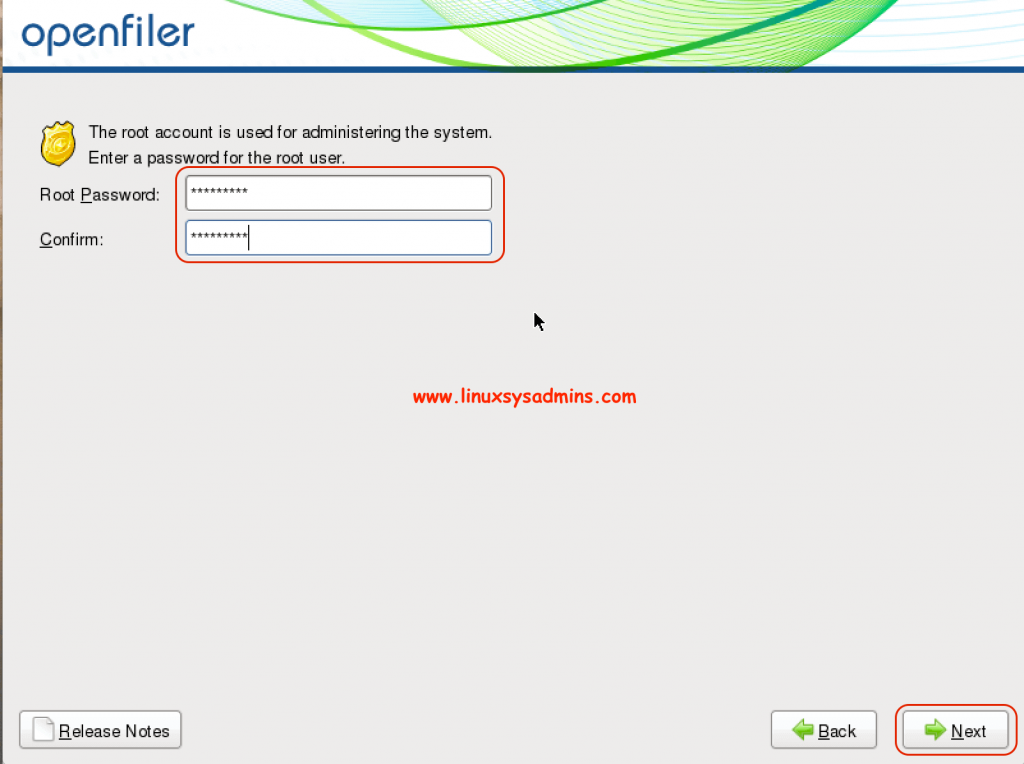
Create a good root password and confirm, by following click “Next”.
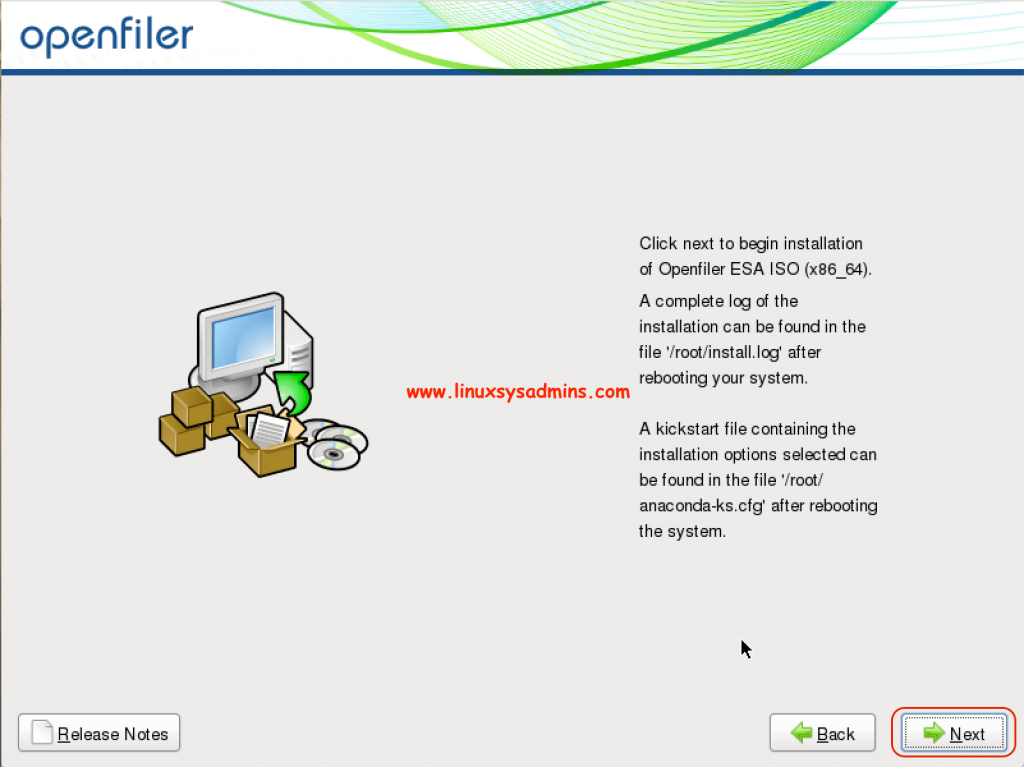
Click “Next” to start the installation. It will take hardly 1 minute to complete the installation.
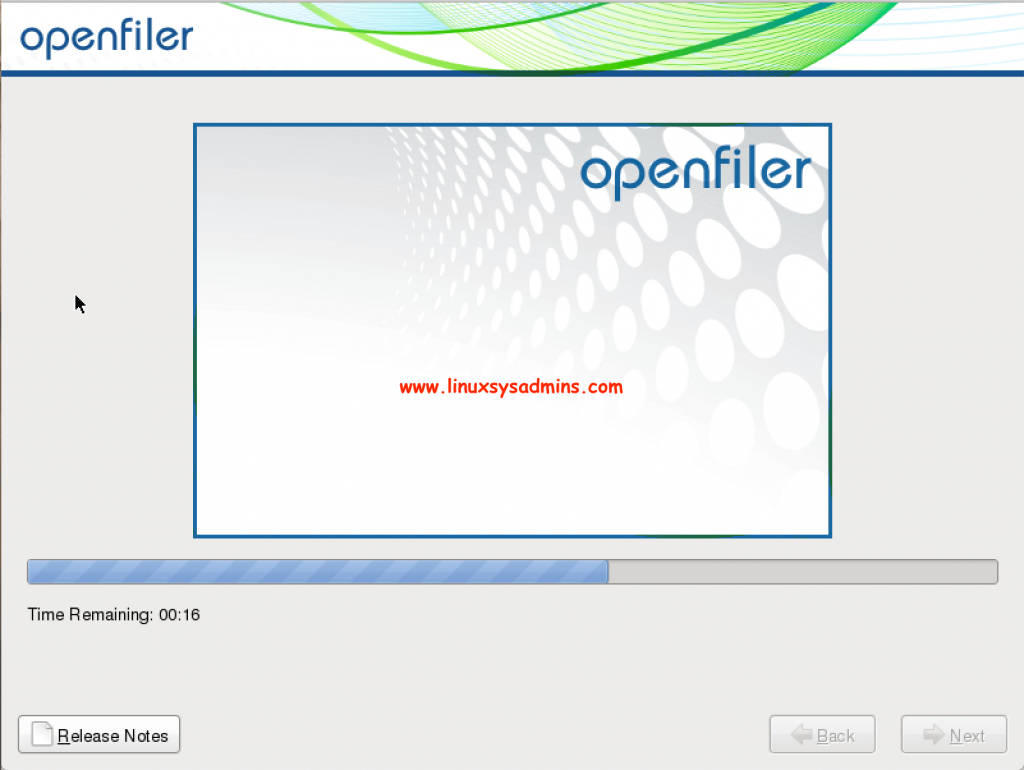
Installation in progress
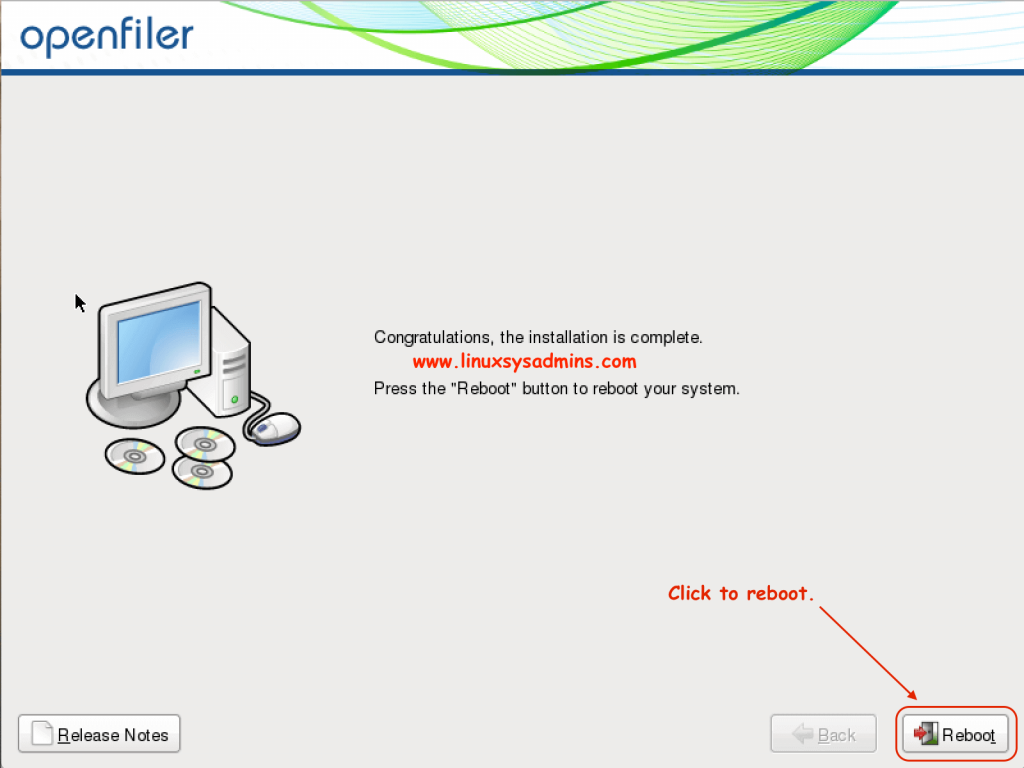
Click “Reboot” to complete the installation.
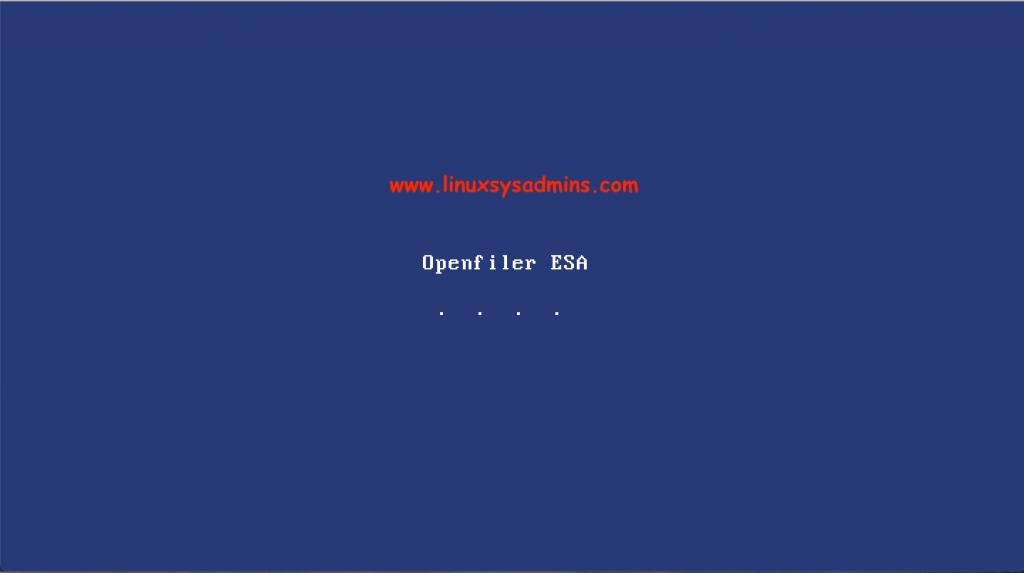
First boot after installation
Accessing Web Administration Interface
Once the server complete its boot we will get the below Web Administration login URL.
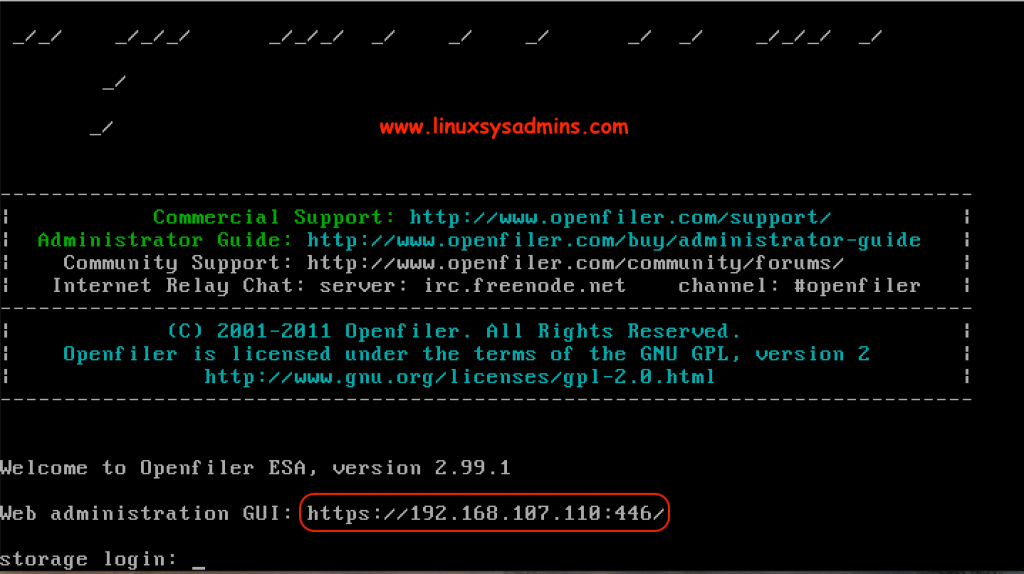
Login into web administration using default username and password
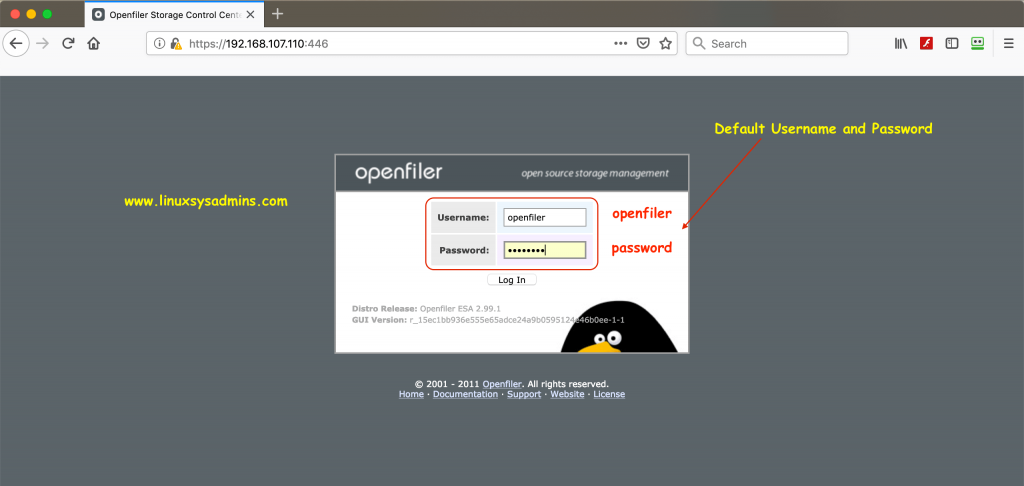
Username       :       openfiler
Password       :       password
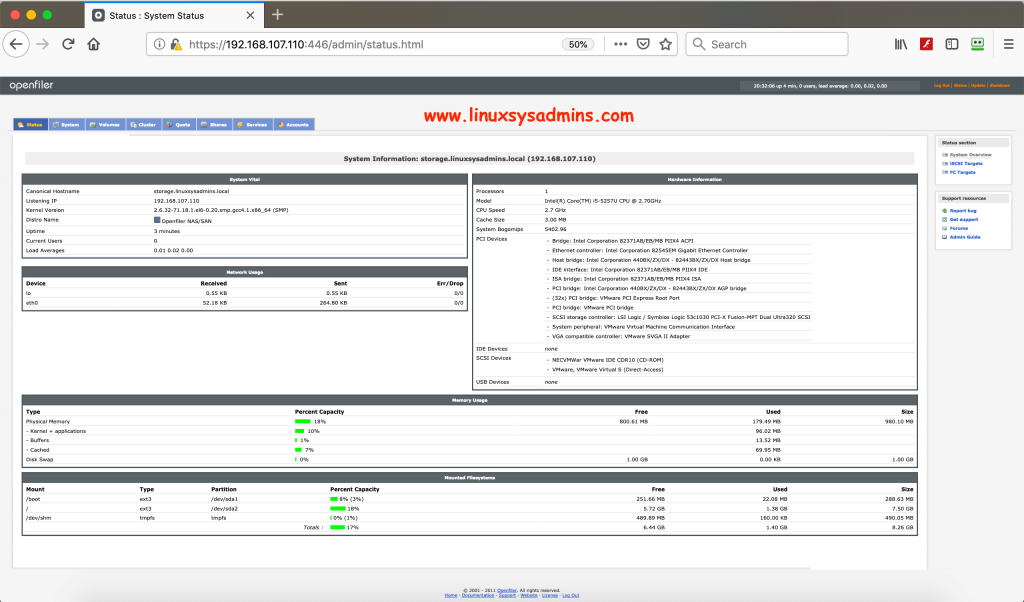
Openfiler System Information
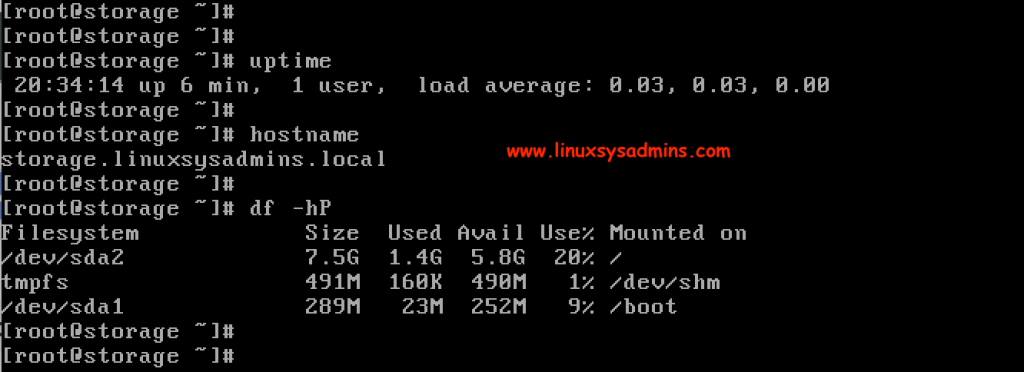
Command line access
Openfiler server can be accessed using CLI as well. Even storage management can be performed from command line.
We have successfully completed with Openfiler installation in a virtual environment for testing purpose.
Conclusion:
Openfiler storage can be run in Virtual or Physical platform for testing or small business setups. In our next guide we can cover with preparing RAID setups and creating volumes. To get more updated articles related to Linux subscribe to our newsletter and provide your feedback and comments.