Table of Contents
A self reference guide on up and running with Pi-hole on a Ubuntu 22.04 LTS virtual machine.
System Requirement for Pi-hole
Using 192.168.0.50 as IP address for Pihole with DNS name pihole.linuxsysadmins.lan
1 vCPU, 1024 Memory and 10 GB of Disk.
Using this VM as only ad-blocker, rest all DNS will be managed by Red Hat IDM
Firewall Exclusion
Allow the required ports.
# ufw allow 80/tcp
# ufw allow 53/tcp
# ufw allow 53/udp
# ufw allow 67/tcp
# ufw allow 67/udp
Starting with Installation
To make things easier, sticking to simple one step automated installation method.
# curl -sSL https://install.pi-hole.net | bash
Post configurations
Right after the installation we will replace the DNS IPs with Pihole VM’s IP in Pfsense router.
System –> General Setup –> DNS Servers
Uncheck the “DNS Server Override” option, Select “Use remote DNS Servers, ignore local DNS”.
Save and exit.
Pihole Dashboard Access
Back to Pihole dashboard, access URL with leading /admin to access the login screen.
http://pihole.linuxsysadmins.lan/adminThe default password can be used to access the dashboard, else change the password from command line.
$ sudo pihole -a -pAdding more Block List
By default only one block list will be installed, other additional block list can be added by following
Adlists –> address and comment and click “Add”.
Right after adding the list we need to update the list, so that it will and update the block list database.
Update the gravity list by navigating to Tools --> update gravity
  [✓] Building tree
  [✓] Swapping databases
  [✓] The old database remains available
  [i] Number of gravity domains: 3628071 (3341166 unique domains)
  [i] Number of exact blacklisted domains: 0
  [i] Number of regex blacklist filters: 0
  [i] Number of exact whitelisted domains: 1
  [i] Number of regex whitelist filters: 0
  [✓] Cleaning up stray matter

  [✓] FTL is listening on port 53
     [✓] UDP (IPv4)
     [✓] TCP (IPv4)
     [✓] UDP (IPv6)
     [✓] TCP (IPv6)

  [✓] Pi-hole blocking is enabled
Or run from command line.
root@pihole:~# pihole -gEnable Blocking and Status
To enable the blocking, and to check the status.
# pihole enable
# pihole status
Output for reference
root@pihole:~# pihole enable
  [i] Enabling blocking
  [✓] Reloading DNS lists
  [✓] Pi-hole Enabled
root@pihole:~#

root@pihole:~# pihole status
  [✓] FTL is listening on port 53
     [✓] UDP (IPv4)
     [✓] TCP (IPv4)
     [✓] UDP (IPv6)
     [✓] TCP (IPv6)

  [✓] Pi-hole blocking is enabled
root@pihole:~#
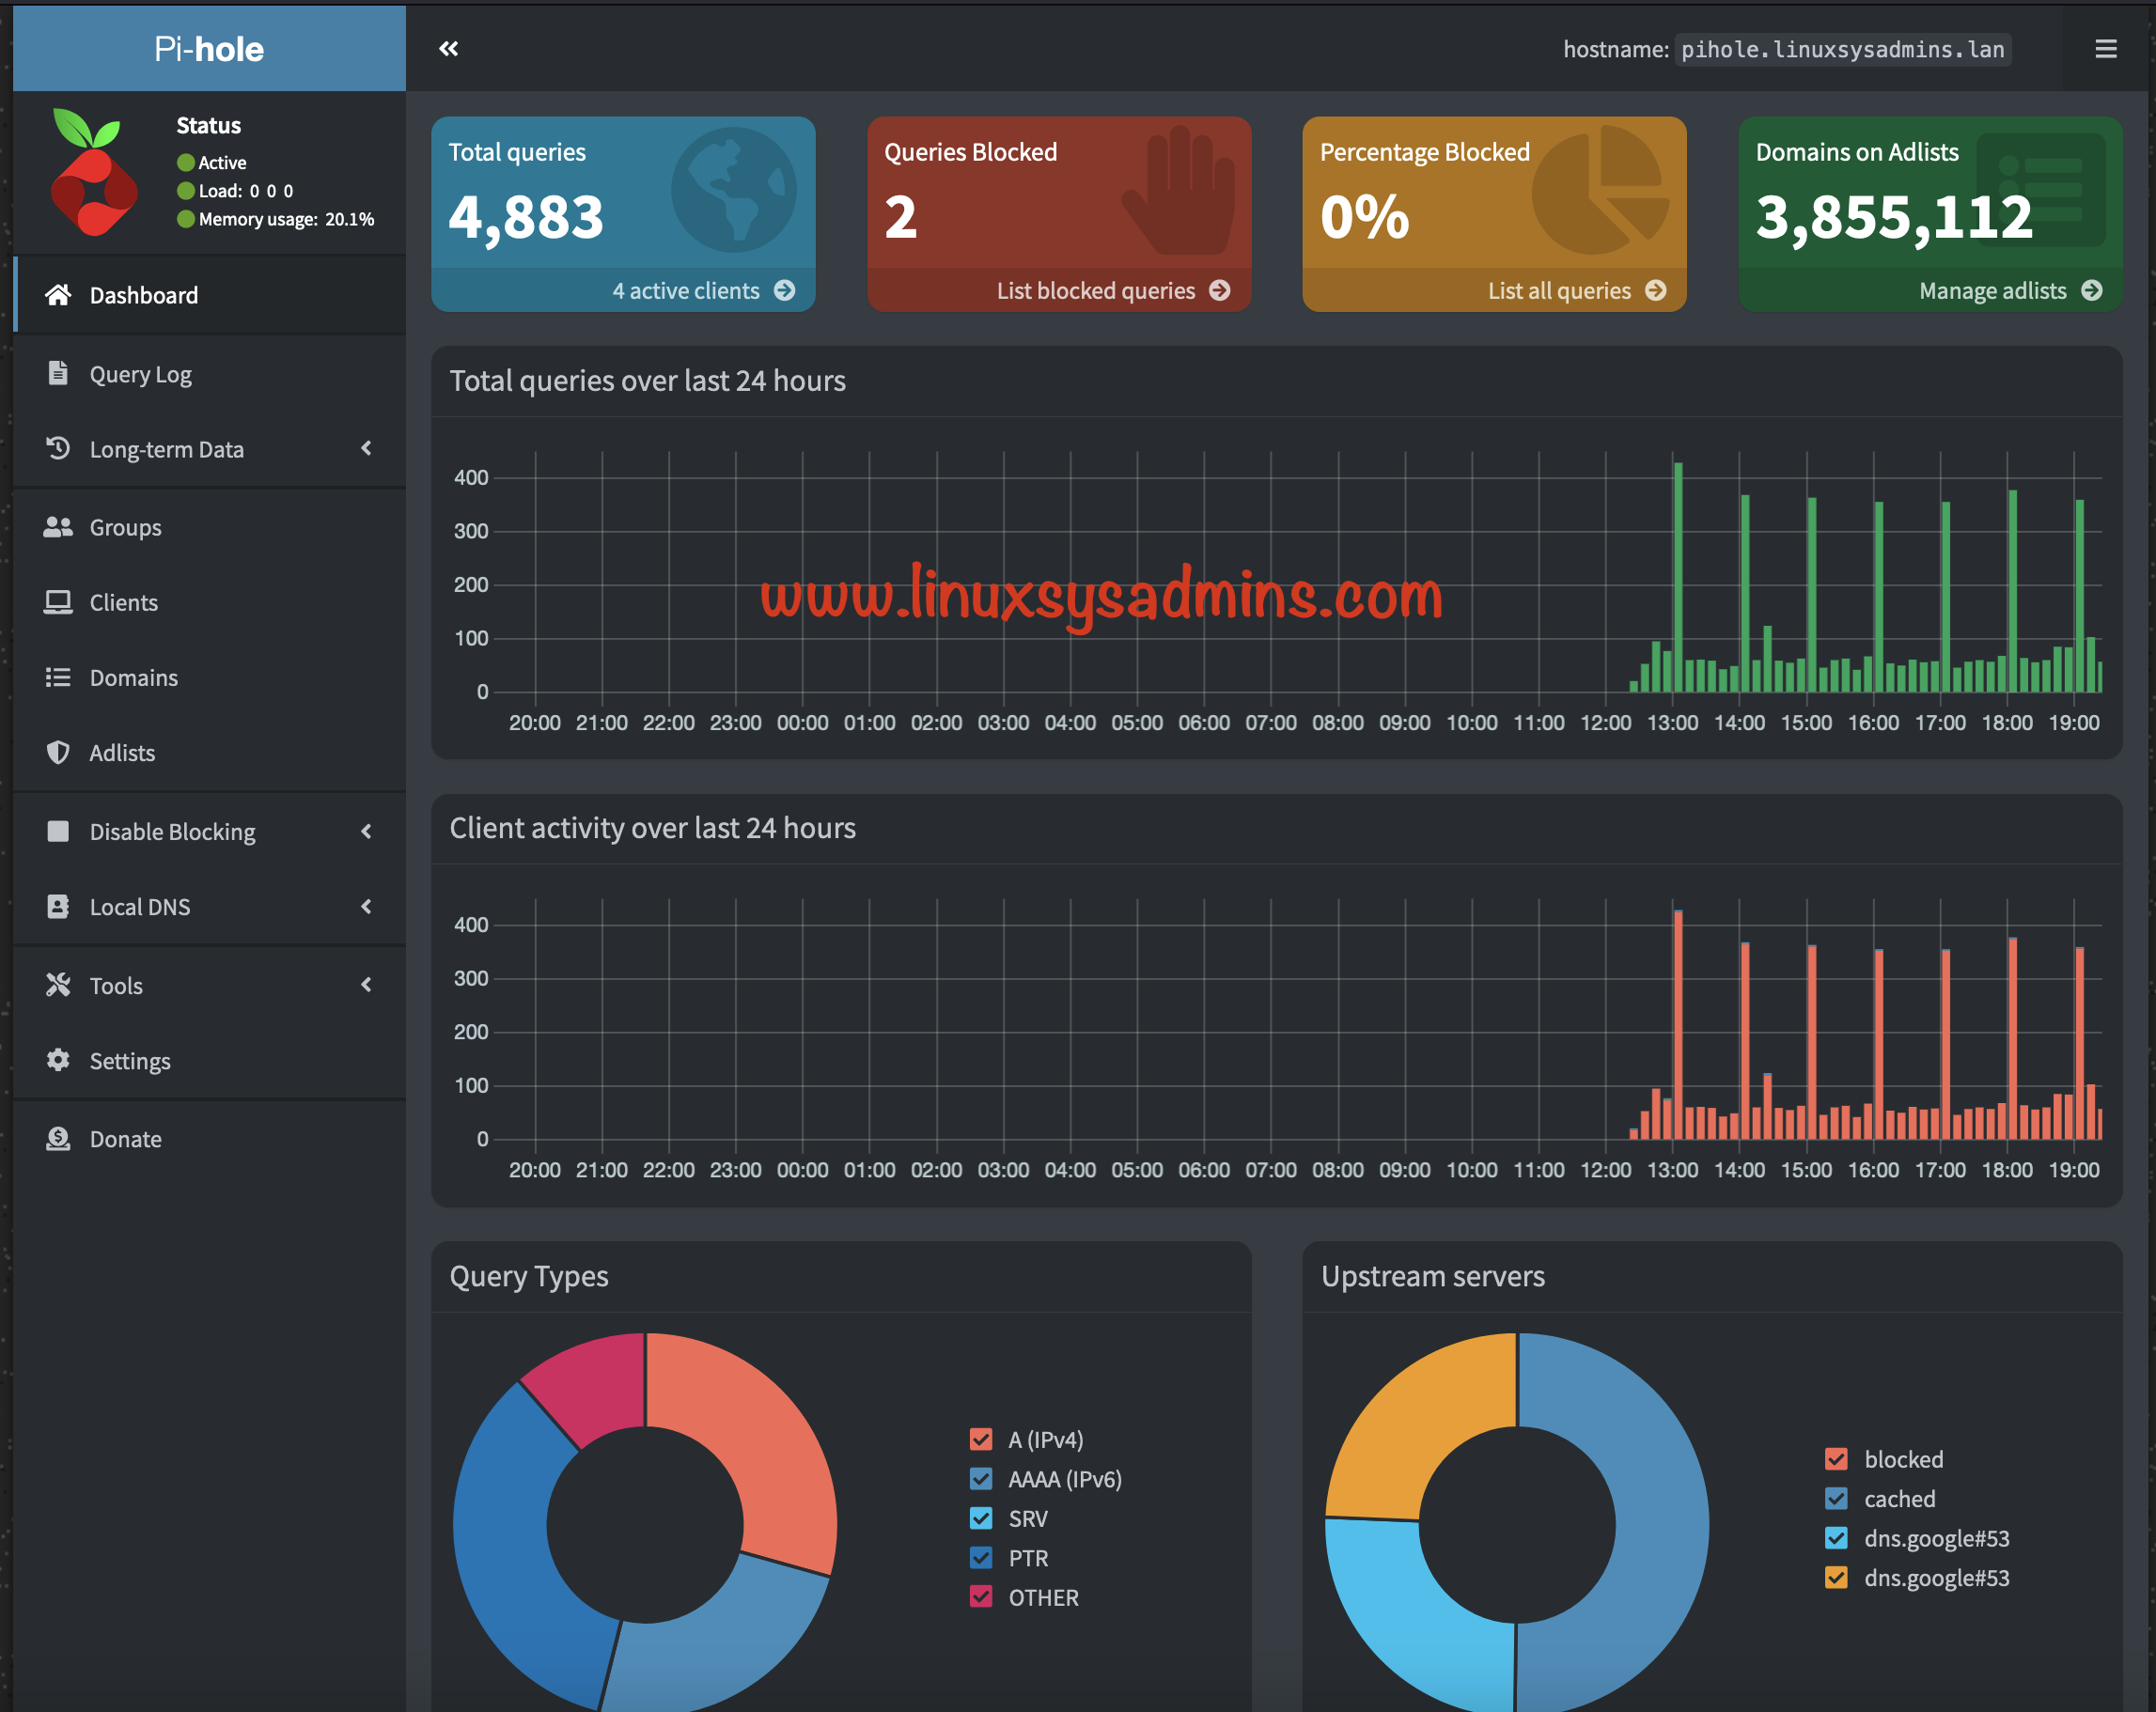
Finally Pi-hole in progress.

That’s it.